
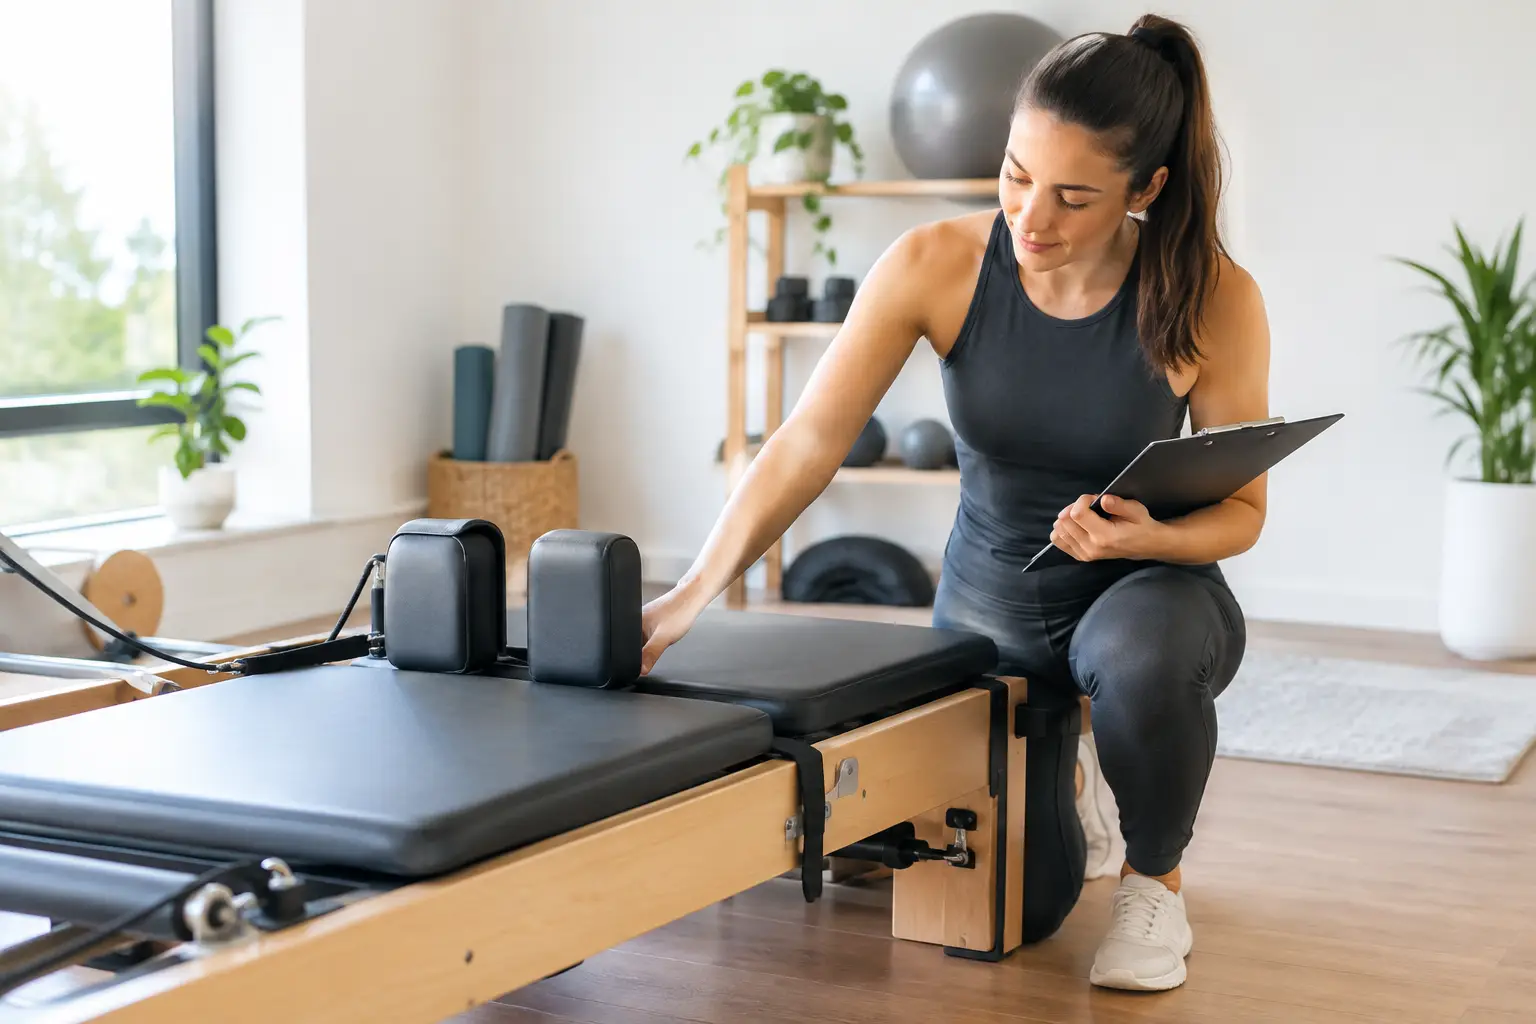
A reformer should feel supportive and predictable, not like another thing to troubleshoot during your workout. A thoughtful reformer safety checklist helps you notice loose hardware, worn straps, an unstable setup, or a spring choice that does not match the exercise before those details interrupt your movement. It also creates a calmer home practice: you know the machine is ready, your space is clear, and your attention can stay on control and form.
Safety is not about making reformer Pilates feel intimidating. It is about respecting a moving piece of equipment with springs, wheels, ropes, and a carriage that can shift quickly when it is not set up correctly. Whether you have a compact folding reformer or a studio-style model, a few consistent checks can protect both your body and your investment.
Start with a stable home setup
Before stepping onto the carriage, look at where the reformer sits. It should be on a level surface with enough open space to move around the front, back, and sides without catching a foot on furniture, cords, or storage baskets. This matters most for exercises that require you to stand beside the machine, use the long box, or dismount while the carriage is moving.
Hard flooring can work well, but the reformer should not slide as the carriage moves. Depending on the model and floor material, a manufacturer-approved mat or protective flooring may improve grip and reduce noise. Avoid placing the frame on a thick, soft rug that allows the legs to sink unevenly. An uneven base can affect how stable the equipment feels and may place unnecessary stress on the frame over time.
Check the room conditions, too. Keep water away from the rails and electronic components if your reformer has them. Good lighting makes it easier to see spring hooks, rope clips, and the footbar position. If children or pets share the space, store the reformer in a way that prevents unsupervised climbing, rolling, or pulling on straps.
Your pre-workout reformer safety checklist
A full equipment inspection does not need to take long. The goal is to build a repeatable habit before every session, with a more detailed review every few weeks. Start by confirming that the frame feels solid. Place a hand on the footbar and side rails, then apply gentle pressure. There should be no rocking, unusual shifting, or new rattling.
Next, inspect the moving parts you will use. Look over the springs for gaps, stretched coils, rust, bent hooks, or signs that a spring is not sitting securely in its attachment point. Springs are under tension, so never assume one is safely connected because it looks close enough. Make sure each active spring is fully seated at both ends before moving the carriage.
Check ropes, straps, loops, and clips for fraying, cracks, tears, or uneven length. A rope that is no longer even from side to side can change your alignment and make the carriage track unpredictably. If your machine uses adjustable ropes, confirm that both sides are set at the same length unless your instructor or the equipment manual specifically calls for an asymmetrical setup.
Then test the carriage. Roll it slowly through its full range without standing or kneeling on it. It should glide without catching, grinding, or drifting sharply to one side. A small amount of sound can be normal, particularly on certain wheel systems, but a sudden new noise deserves attention. Stop using the reformer if the carriage sticks, the wheels appear damaged, or a rail looks obstructed.
Finally, confirm the footbar, headrest, shoulder rests, and risers are locked into their intended positions. These components vary significantly by brand. A footbar that feels secure on one model may use a different locking method on another, so the user manual should always be your primary reference.
Match the spring setting to the exercise
The right spring tension is not simply the heaviest resistance you can manage. On a reformer, springs influence both resistance and carriage control. Too little tension can let the carriage move away from you faster than expected. Too much tension can make an exercise feel forced, encourage gripping, or place strain on joints that should be moving with control.
Before beginning an exercise, identify the recommended spring setting for your specific reformer and experience level. Color systems are not universal. A blue spring on one machine may not offer the same resistance as a blue spring on another, so avoid copying settings from a video without translating them to your equipment.
Extra caution is helpful for exercises performed standing, kneeling, or with one foot on the floor. These positions often require enough spring support to keep the carriage from sliding abruptly as you get on or off. If you are unsure, start with a conservative, stable setup and seek instruction before progressing to more complex movements.
Do not change springs while the carriage is under significant load or while your body weight is on the machine. Step off carefully, bring the carriage to rest, and adjust one spring at a time. Keeping one hand on the frame can help you stay balanced, but do not place fingers near spring hooks or moving joints.
Move onto and off the reformer with intention
Many home reformer mishaps happen during transitions rather than the exercise itself. When mounting, stabilize the carriage first. In most cases, that means standing close to the frame, placing a hand on a secure fixed surface, and stepping onto the stationary platform or carriage only as instructed for the movement. Avoid using the moving carriage as a casual step stool.
When lying down, sit first and lower yourself with control instead of dropping back quickly. When getting up, return the carriage fully home, pause, and use your hands or the frame for support if needed. This is especially useful after abdominal work, bridging, or any sequence that leaves you lightheaded.
Keep fingers, hair, loose clothing, and jewelry clear of wheels, rails, hinges, and spring connections. Grip socks can be a practical choice for standing work, provided their traction is intact. Bare feet may offer better sensory feedback for some exercises, but they are not automatically safer on every surface. Choose the option that allows stable contact and does not cause slipping.
Let your body set the pace
A safe setup cannot compensate for a movement that exceeds your current control. Reformer Pilates can look smooth and low impact, but springs can add a surprising amount of challenge. Start with foundational exercises that help you learn the carriage, breath, neutral alignment, and spring response before attempting advanced inversions, jumpboard work, standing sequences, or fast transitions.
Pay attention to warning signs such as sharp pain, tingling, numbness, dizziness, joint instability, or a feeling that you are fighting the machine. Muscle effort and mild fatigue can be expected. Pain that feels sudden, electric, pinching, or progressively worse is a reason to stop rather than push through.
Pregnancy, recent surgery, osteoporosis, hypermobility, joint replacement, chronic pain, and pelvic floor concerns can all affect which exercises and positions make sense. That does not mean reformer work is off limits, but it does mean generalized online routines may need modification. A qualified Pilates instructor and, when appropriate, a health professional can help you choose safer progressions for your body.
Maintain the reformer between sessions
Regular care keeps small problems from becoming expensive ones. Wipe down the carriage, footbar, straps, and handles after use with cleaning products approved for the upholstery and materials. Sweat, lotions, and household cleaners can shorten the life of certain finishes, fabrics, and synthetic leather.
Follow the manufacturer’s schedule for tightening hardware, lubricating parts if required, and replacing wear items such as ropes, loops, wheels, or springs. Some reformers are designed for low-maintenance home ownership, while others need more frequent attention because of their construction or usage level. Keep the manual and model information accessible so replacement parts are compatible.
If you fold or store your reformer, use the prescribed locking mechanism every time. Never assume a folded frame is secure because it appears closed. Check that straps are contained, springs are not snagged, and the stored machine cannot tip or roll.
When to pause your workout
Stop using the reformer until you can identify the issue if you notice a cracked spring, frayed rope, loose footbar, unstable frame, damaged upholstery exposing sharp edges, or a carriage that no longer rolls smoothly. Improvising a repair with household hardware or continuing “just for light exercises” can turn a minor maintenance need into an injury risk.
The best home Pilates routine is one you can repeat with confidence. Take a minute before each session to check the machine, choose a spring setting with care, and give yourself permission to slow down when something feels off. That small pause is part of practicing well.
Leave a Reply
You must be logged in to post a comment.