A Pilates ring looks simple: a lightweight circle with padded grips. Yet learning how to use a Pilates ring well can change the quality of familiar mat exercises. It gives your body something to press into, pull apart, or stabilize against, making it easier to feel where a movement begins and whether you are relying on the right muscles.
Also called a magic circle, the Pilates ring is not meant to turn every exercise into a hard squeeze. Its real value is feedback. Used with control, it can help you build awareness through the inner thighs, outer hips, chest, arms, and deep abdominal wall without needing a large home setup or a complicated resistance system.
What a Pilates Ring Does
A Pilates ring is a flexible resistance circle, typically 14 to 15 inches in diameter, with padded handles on the inside and outside. When you compress it, the ring pushes back. That resistance is modest compared with a heavy dumbbell or a reformer spring, but it is enough to reveal compensations such as gripping through the neck, locking the knees, or arching the low back.
The ring can create resistance when you press inward, as when it sits between the thighs. It can also create activation when you press outward against it or simply hold it steady while the rest of your body moves. That last option is often overlooked. A ring held overhead, between the ankles, or in front of the chest can make a basic mat exercise more organized without requiring a maximal squeeze.
For beginners, a Pilates ring is a useful bridge between unassisted mat work and larger equipment. It does not replace the moving carriage, adjustable springs, and support of a reformer. But it can help you practice the control and alignment that make reformer work more productive later.
How to Use a Pilates Ring Safely
Start with the ring centered and the pads placed comfortably against the body. The pads should not dig into a joint, and the circle should not be distorted dramatically before you begin. If you are pressing the ring between your thighs, place it above the knees rather than directly on the kneecaps. If it is between the ankles, use a light hold and keep the feet parallel unless the exercise calls for a different position.
The most useful cue is simple: press only as hard as you can while breathing normally. A light, steady squeeze is usually more effective than a forceful one. Think of the ring as a volume dial, not an all-or-nothing challenge. For many exercises, working at roughly 20 to 40 percent effort gives you enough feedback to stay connected without taking over the movement.
Keep your ribs stacked over your pelvis whenever the exercise is performed lying down, seated, or standing. If your ribs flare, shoulders climb toward your ears, or your back begins to pinch, reduce the pressure on the ring. The goal is not to make the circle as small as possible. The goal is to move with better coordination.
People with a recent injury, joint pain, pelvic floor symptoms, or significant osteoporosis should be selective about ring work. Squeezing is not automatically appropriate for every body or every condition. A qualified Pilates instructor or physical therapist can help modify positions, especially for neck, hip, knee, or low-back concerns.
Pilates Ring Setup: The Form Cues That Matter
Before adding the ring to an exercise, establish a position you can maintain. Lie on your back with your head supported if needed, feet grounded, and arms relaxed. Inhale to prepare. As you exhale, gently narrow the front of the ribs and feel the lower abdomen support your trunk. This is not a hard brace or a tucked pelvis. It is a quiet sense of connection.
When the ring is between the thighs, let the legs stay long and aligned from hip to knee to ankle. Do not roll the feet inward to create a stronger squeeze. When holding the ring in your hands, keep the wrists neutral and the shoulder blades broad across the back. A little bend in the elbows is often more comfortable than locking the arms straight.
The ring should clarify the exercise, not distract from it. If handling it makes you lose your breathing pattern or your alignment, remove it and practice the underlying movement first. This is a sensible progression, not a setback.
Four Beginner Exercises With a Pilates Ring
Bridge With Inner-Thigh Connection
Lie on your back with knees bent, feet hip-width apart, and the ring placed above your knees. Rest your arms beside you. Inhale to prepare, then exhale and apply a gentle, even pressure into the ring as you lift your hips into a bridge.
Pause at the top without flaring the ribs or gripping the glutes so tightly that the low back takes over. Inhale, then lower your spine with control. Try six to eight repetitions. This variation can help you notice whether the knees drift outward or the pelvis shifts as you bridge.
Chest Press for Upper-Body Organization
Lie on your back with knees bent, holding the ring above your chest with both hands on the outside pads. Your elbows should be softly bent and pointed slightly forward rather than wide to the sides. Exhale to press the pads toward each other lightly, then inhale to release the pressure without dropping the ring.
Keep the back of the ribs heavy and the neck relaxed. This exercise is less about building maximum chest strength and more about connecting the arms to a stable trunk. If the shoulders feel strained, lower the ring closer to the chest or use less pressure.
Side-Lying Outer-Hip Press
Lie on one side with your head supported and your hips stacked. Bend both knees comfortably and place the ring between the outside of your top thigh and your top hand, with the pads resting securely. Exhale to press the thigh and hand gently into the ring at the same time.
Your waist should stay long rather than collapsing into the mat. Hold for one full breath, then release slowly. Complete five to eight repetitions before changing sides. The paired pressure asks the hip and side body to work together, which can be more useful than simply lifting the leg repeatedly.
Seated Roll Back With Arm Support
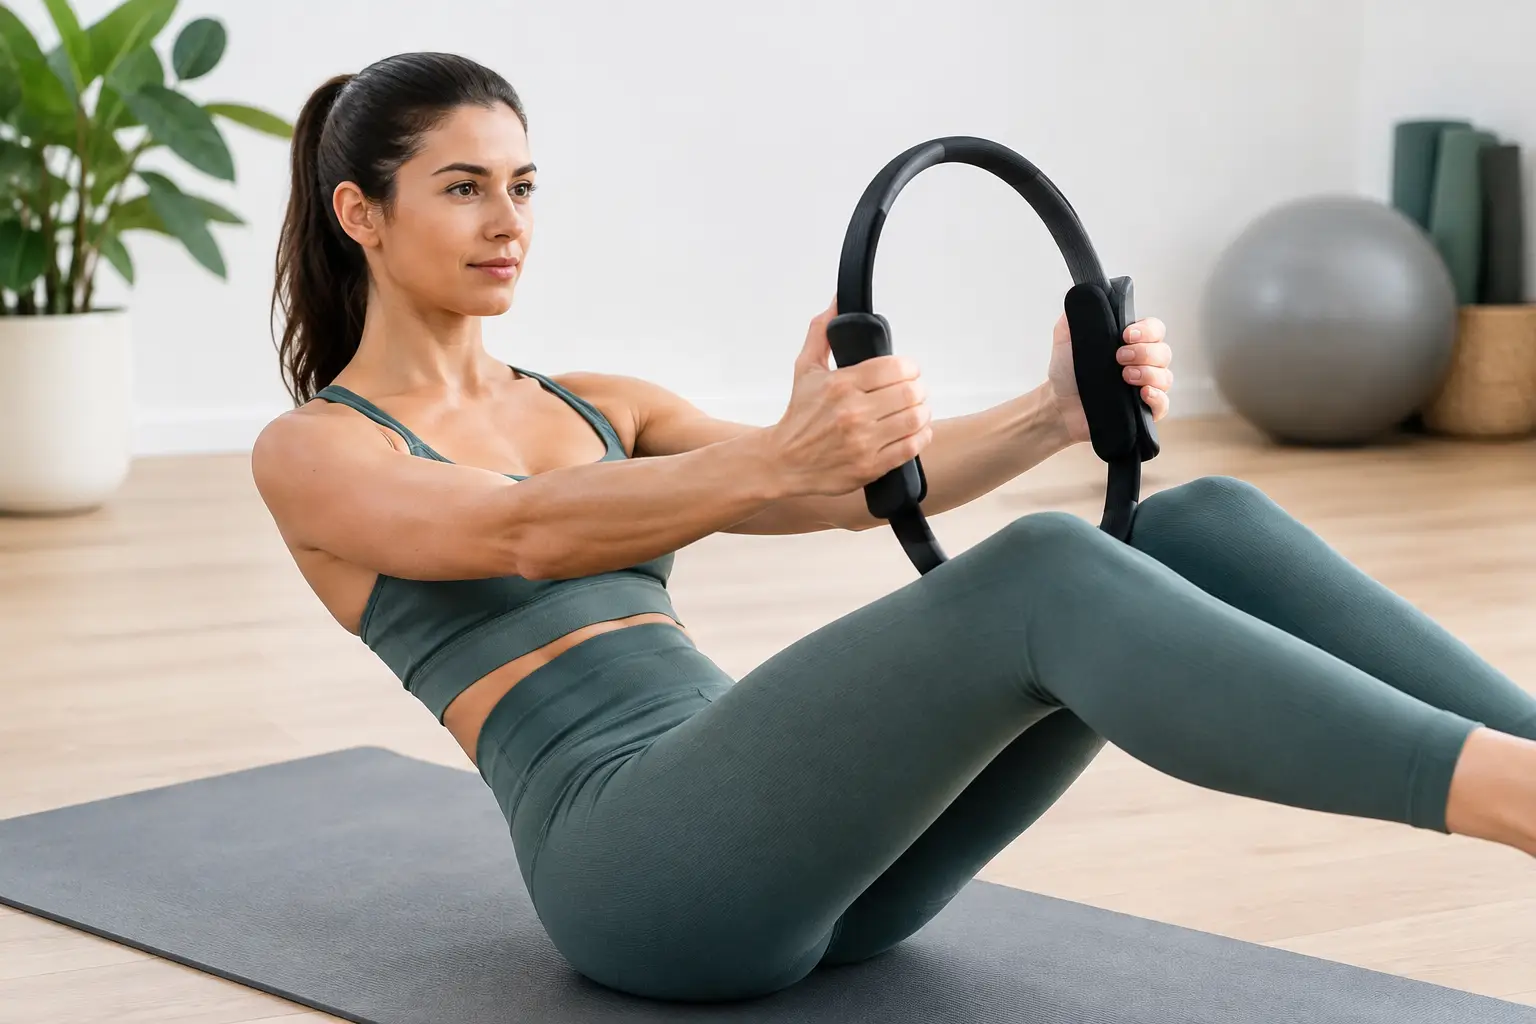
Sit tall with knees bent and feet on the floor. Hold the ring in front of your chest, hands on the outside pads. Exhale and lightly compress the ring as you tip the pelvis back and roll partway down your spine. Stop before the shoulders round forward or the feet lift.
Inhale in the paused position, then exhale to return upright. The ring gives the arms a clear job, but the movement should come from the abdominals and spinal articulation, not from pulling with the shoulders. Begin with four to six repetitions and keep the range small.
Common Mistakes That Make Ring Work Less Effective
The most common mistake is treating the ring like a strength test. Crushing it can cause the jaw, shoulders, hip flexors, and pelvic floor to tense unnecessarily. In Pilates, more effort is not always better effort.
Another issue is using the ring to force range of motion. For example, pulling it overhead when the shoulders do not move comfortably overhead can turn a mobility exercise into a compensation pattern. Work within the range where you can keep the ribs and shoulder blades organized.
Finally, avoid relying on the ring for stability when you have not built stability in your own body. If you cannot hold a bridge, side-lying position, or seated roll back without discomfort, simplify the base exercise first. The accessory should add information, not conceal a weak or painful pattern.
Choosing a Ring for Home Practice
Most people do well with a standard 14- or 15-inch ring with comfortable pads and moderate resistance. Very stiff rings can be frustrating for beginners and may encourage over-gripping. Very soft rings can feel less informative, particularly during standing or lower-body exercises.
Construction matters more than decorative details. Look for a ring that returns to shape after compression, has securely attached pads, and feels smooth at the edges. A compact ring stores easily beside a mat, making it a practical choice for small apartments or a home workout area where a reformer is not realistic yet.
If you are building a longer-term home Pilates routine, use the ring as one tool among several. A mat, supportive props, and a progression you can repeat consistently will do more for your practice than collecting accessories. The right ring is the one you can use comfortably, with enough resistance to feel the work and enough control to keep your form honest.
A Pilates ring rewards patience. Start with a light squeeze, a small range of motion, and a breath you can maintain. As your body becomes more familiar with the feedback, the simplest exercises often become the ones that teach you the most.