
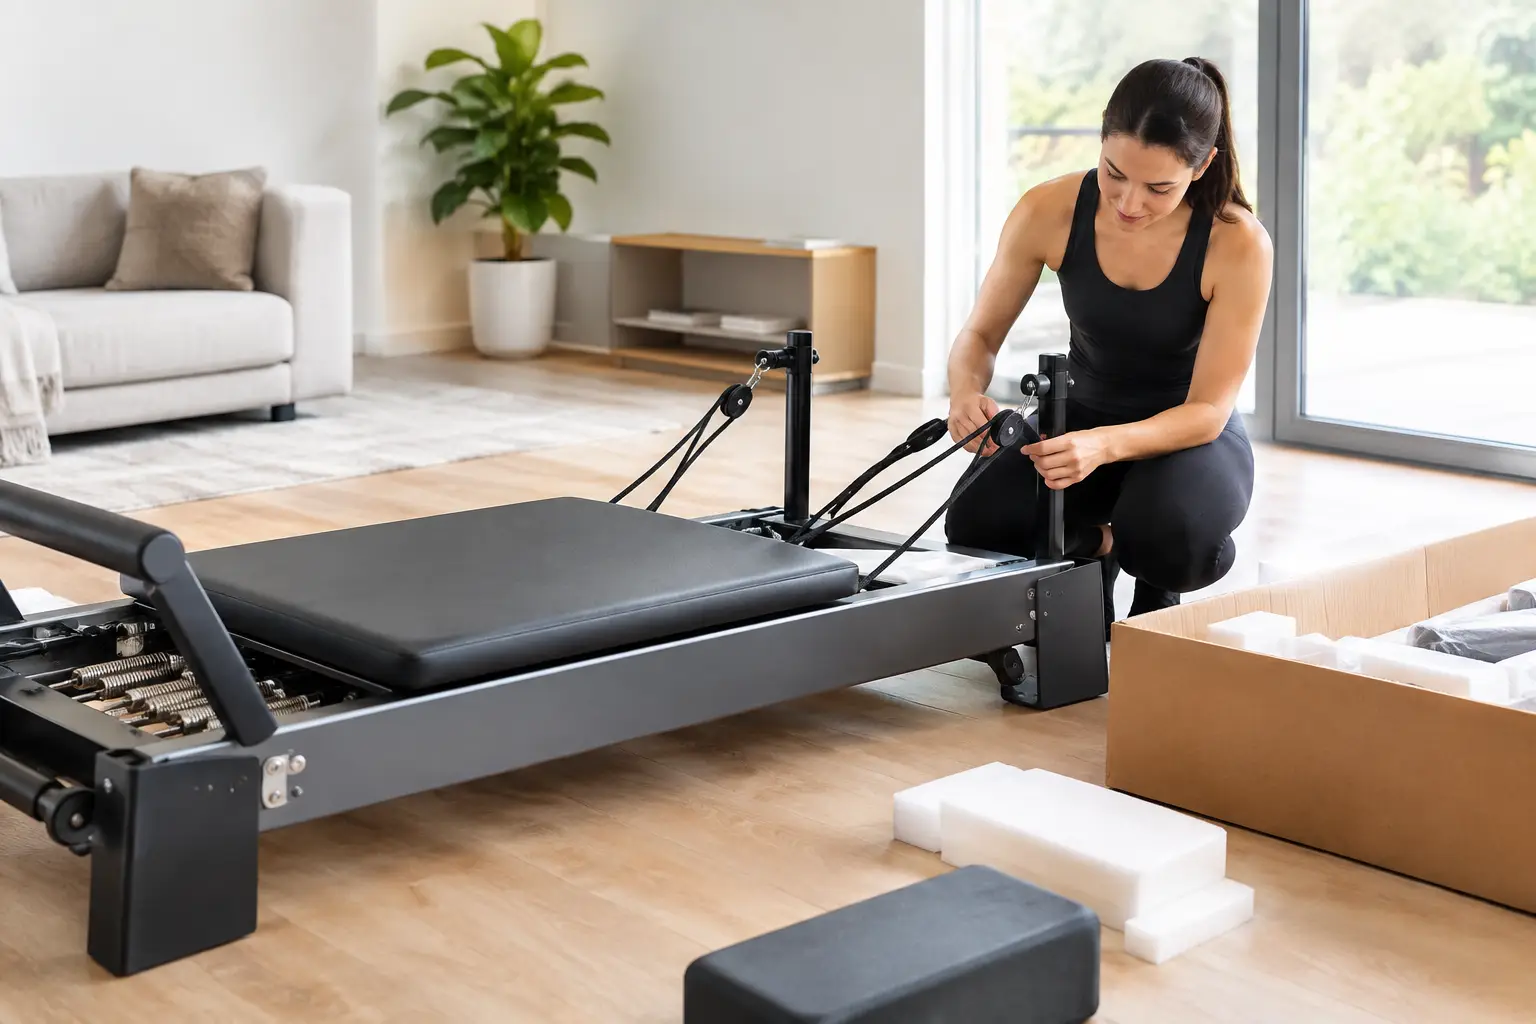
A home reformer can arrive as a compact box, a long and heavy crate, or a nearly assembled piece of equipment that needs two people to move safely. That difference matters. A thoughtful reformer delivery preparation guide helps you avoid the most frustrating version of delivery day: a valuable piece of equipment that cannot fit through the door, cannot safely reach its room, or sits unopened while you scramble to clear space.
Before a reformer arrives, focus on three practical questions: Can it get into your home? Does it have a permanent, usable place to live? Can you inspect and set it up without rushing? A little planning protects both your purchase and the routine you hope it will support.
Start With the Delivery Terms, Not the Product Photos
Reformer listings often highlight carriage length, resistance options, and accessories. Those details are useful, but the shipping information deserves equal attention. A reformer may arrive fully assembled, partially assembled, or in several boxes. Freight delivery is also different from a typical parcel delivery.
Some carriers provide curbside delivery only, meaning the shipment is brought to the end of your driveway or near the entrance of an apartment building. They may not carry it inside, navigate stairs, remove packaging, or place it in a specific room. White-glove delivery can include room-of-choice placement and, in some cases, assembly, but the exact service varies by retailer and location.
Read the delivery policy before scheduling. Confirm whether an appointment is required, whether someone 18 or older must be present, and whether the driver can use an elevator or enter a gated community. If your building has delivery restrictions, reserve the loading area or elevator in advance. A missed freight appointment can mean delays and redelivery fees.
Measure the Route Before You Measure the Workout Space
The reformer’s assembled footprint is not the only measurement that matters. The shipping carton or crate may be longer, taller, and harder to turn than the reformer itself. Find the packaged dimensions and weight in the order details, then measure the entire route from the delivery point to the room where it will be used.
Check the width and height of exterior doors, interior doors, hallways, stair landings, elevator doors, and elevator interiors. Pay special attention to tight corners. A long box can fit through a doorway but still be difficult to rotate through a narrow hall or around a staircase.
If your reformer is headed upstairs, consider more than the width of the stairs. Look at the landing at the top and bottom, ceiling height, handrails, and the angle required to make the turn. A heavy reformer should never be wrestled up stairs by one person. Arrange help in advance, or choose a delivery service that specifically confirms upstairs placement.
For apartment residents, ask management about freight elevators, acceptable delivery hours, insurance requirements, and package holding rules. Do not assume the front desk can accept a large crate. The best delivery plan is one that accounts for the policies of the building as well as the dimensions of the equipment.
Create a Realistic Home Reformer Area
A reformer needs room not only for its frame but also for your body, moving carriage, footbar, straps, and transitions on and off the machine. A room can technically hold a reformer while still feeling too cramped for comfortable practice.
Start with the manufacturer’s assembled dimensions. Then allow open space around the machine, especially at both ends. You need clearance to stand, adjust springs, use accessories, and move without repeatedly bumping into furniture. Taller users may need more room at the head end for long-leg movements, while a tower or raised platform setup can require additional vertical clearance.
Think about how the reformer will function between workouts. If it will remain open in a guest room, living area, or dedicated studio corner, choose a location that does not block an everyday walking path. If you plan to store it vertically or roll it away, verify that the specific model is designed for that position. Folding and storage features can be useful in small homes, but they add setup steps. For some people, a compact reformer that stays ready is more likely to support consistent use than a larger machine that must be moved before every session.
Flooring is another consideration. Most reformers work well on level hard flooring, low-pile carpet, or a stable exercise mat designed to protect the surface beneath. Very plush carpet can make a reformer less stable and may interfere with wheels or leveling. In apartments or upper-floor rooms, a dense mat can also reduce vibration and protect floors from marks.
Prepare the Room Before the Truck Arrives
Clear the route and the final setup area the day before delivery. Move rugs that could slide, remove low furniture from narrow hallways, and secure pets in another room. If you are expecting multiple boxes, create a clear staging area where they can rest without blocking exits.
Have basic supplies ready: a utility knife or box cutter, scissors, work gloves, a small trash bag for plastic wrap, and a phone or camera for documenting the shipment. Avoid cutting deeply into a carton. Upholstery, straps, ropes, and protective covers can sit close to the cardboard.
If assembly is required, review the manufacturer’s instructions before the delivery window. Identify any tools you will need, how many people are recommended for lifting, and whether the package should acclimate indoors before unpacking. If the reformer has electronic components, follow the brand’s guidance on power connections and placement near outlets.
You do not need to turn the room into a permanent studio before the box arrives. You do need a clean, level, well-lit area where the reformer can be assembled and checked without pressure.
Plan for Safe Moving and Assembly
Reformers are awkward as well as heavy. Their length and moving parts make them poor candidates for improvised lifting. If your delivery does not include room placement, recruit capable help ahead of time. Two adults may be sufficient for some compact models, while a larger professional-style reformer or crate may warrant a moving service.
Lift from stable frame sections, not from the carriage, shoulder rests, footbar, straps, or ropes. Keep the carriage secured according to the manufacturer’s instructions while moving. Avoid dragging a reformer across wood or vinyl flooring, and do not place it on its side unless the manufacturer permits it.
Assembly requirements vary widely. Some reformers need little more than attaching legs, installing a footbar, or adding accessories. Others require careful alignment, spring placement, and hardware tightening. If a step feels unclear, stop and consult the instructions or the seller’s support team. Guessing about springs, wheels, or frame hardware can affect performance and may create a safety issue.
Inspect Your Reformer Before You Discard the Packaging
Delivery day is the best time to document condition issues. Before signing paperwork, if possible, inspect the outer carton or crate for punctures, crushed corners, water exposure, or signs that it has been dropped. Take photos of visible damage, including shipping labels.
Once unpacked, check the frame, upholstery, carriage, rails, shoulder rests, footbar, springs, ropes or straps, pulleys, and included accessories. Compare every item with the packing list. Move the carriage slowly to confirm that it glides evenly and quietly. Test adjustments without putting full body weight on the machine until you are confident everything is installed correctly.
A small amount of packaging dust is normal. Bent metal, torn upholstery, loose hardware, damaged springs, or uneven carriage travel are not. Report concerns promptly and retain the box, crate, protective inserts, and photos until the seller confirms the next step. Returns and damage claims are much easier when original packaging is available.
Make the First Session About Familiarity
The first workout does not need to prove that your reformer was worth the investment. Give yourself time to learn the settings. Identify spring strengths, carriage stops, footbar positions, strap lengths, and any special storage or folding mechanism. If you are new to reformer Pilates, begin with a guided beginner session or an instructor-led orientation rather than copying advanced movements from memory.
Your body, the machine, and the room all need to feel workable together. Notice whether you have enough room to get on and off comfortably, whether the machine feels level, and whether your setup encourages you to return tomorrow. If small changes would improve access, lighting, or storage, make them early.
A reformer is a long-term piece of home fitness equipment. Preparing well for delivery gives it the stable, practical place it needs to become part of your routine rather than another large purchase waiting for the right moment.